Summer comes with so many perks, and one of them can sit outside and enjoy the warm weather and the sun. The best way to experience this is by having a nice picnic somewhere outside, whether it’s a park or your garden!
There are so many things that you can take with you on a picnic, but what really matters is the blanket! You don’t want something too fluffy or rough – you’re going to sit there for a while, and it’s important to feel comfortable. However, this doesn’t mean choosing a dull blanket when you can decorate a blanket when there are so many ways.
Scroll along to see ten beautiful ideas for creating your future perfect picnic blanket!
1. Giant Embroidery Blanket
via lovelyindeed.com
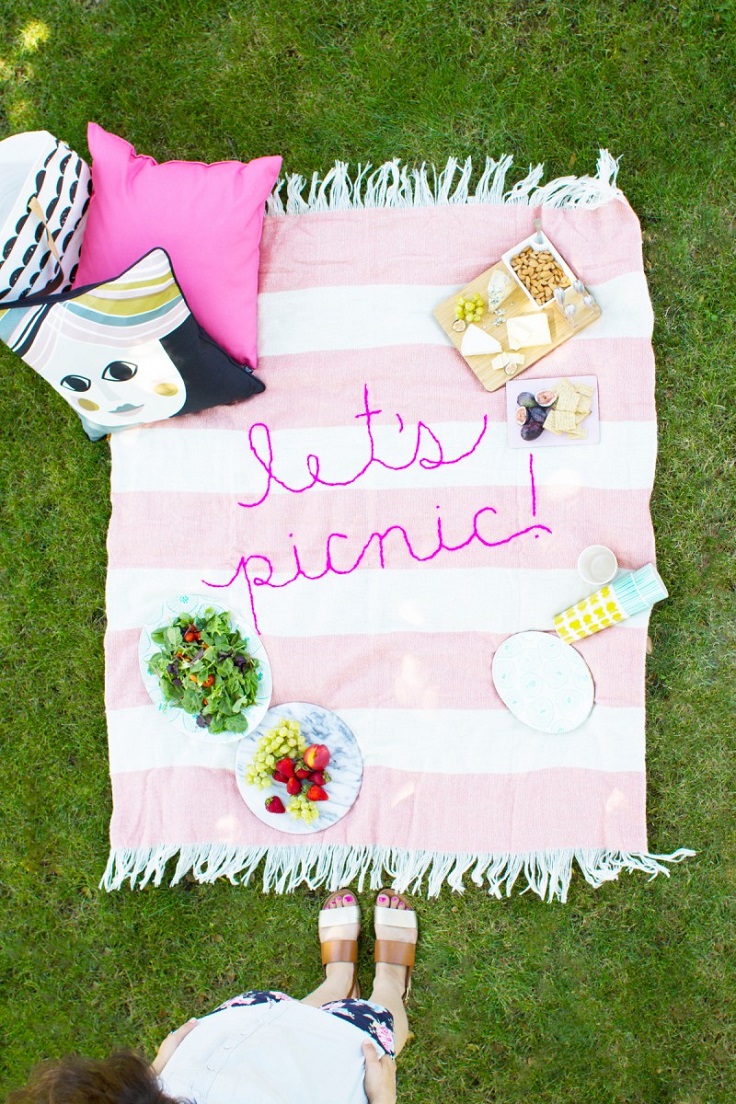
A picnic blanket with a saying can be so nice. Imagine having your own favorite blanket with your favorite saying on it! As you can see in the picture, the saying is pretty simple, but if you have enough time and resources, you can always try something more. To have your own blanket, such as the one on the photo, you will need a striped blanket, yarn, a large sewing needle for knitting, scissors, and colored chalk. Just use your embroidery skills and some imagination to make something that will upgrade the picnic experience higher!
2. Painted Picnic Blanket
via freutcake.com
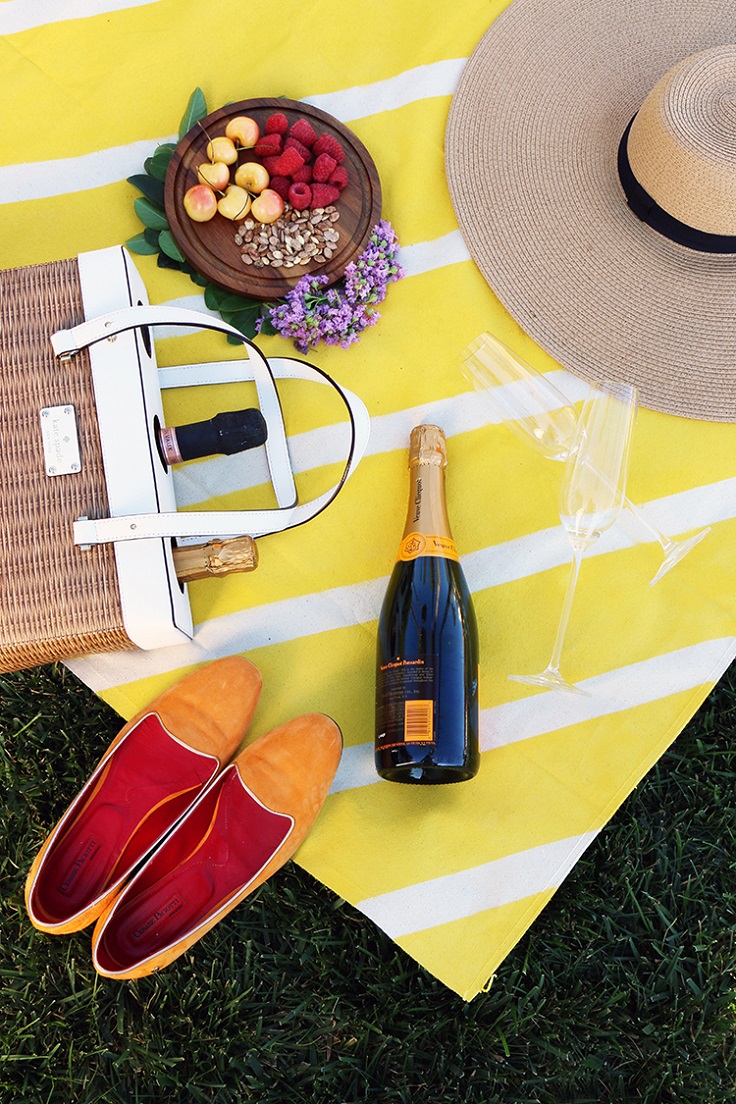
You can use your painting skills to do something more than just a painting. For example, you can decorate a dull blanket into a colorful one! You need 1 4×5 canvas drop cloth, 1 can of spray paint color of your choice, painter’s tape, and a ruler, but that’s optional. Lay the blanket on a flat surface and tape individual stripes, and decide how apart you want them to be. When you’re done taping, use the spray paint and make sure to cover every single spot. Let it dry completely for few hours and take off the tapes.
3. Pom Pom Picnic Blanket
via studiodiy.com
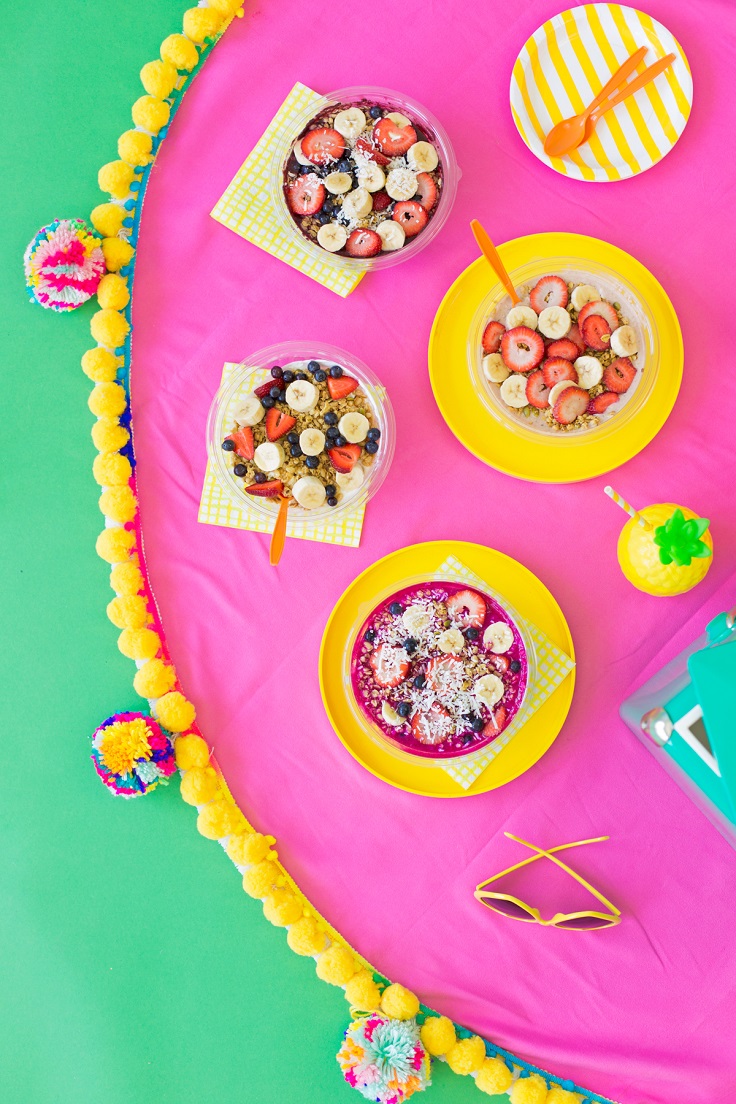
Pom poms are the kind of thing that can be used to decorate so much stuff. The choice seems endless for the DIY lovers – pillows, key chains, bag chains, sandals, garland, and blanket, to name a few. To make your own blanket such as the pictured, you will need 2 yards of 60″ wide (or wider) terrycloth, microfiber, or other absorbent fabric, 6 yards of double-fold bias tape, 5 1/2 yards of each trim of your choice (like fringe and two pom pom trims as pictured), yarn in colors of your choice, pom pom maker, fabric glue, jumbo or yarn needle, scissors and pencil or chalk.
4. Watermelon Blanket
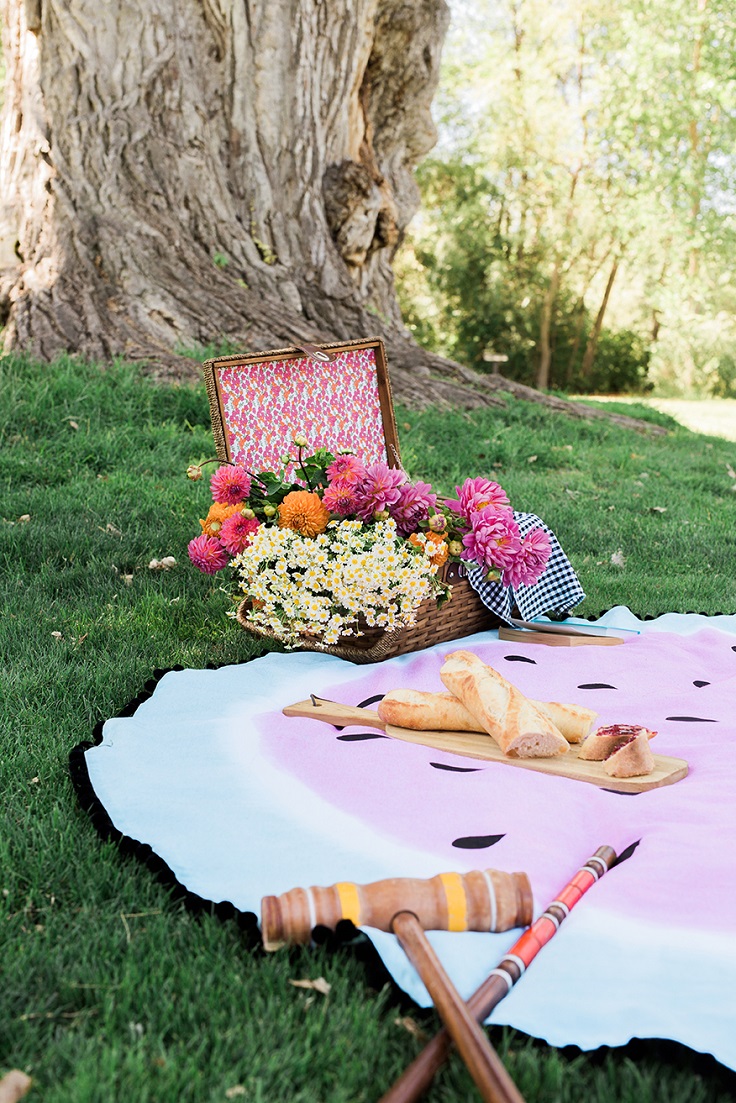
This kind of blanket is either expensive or hard to find. To solve your problems with finding the perfect fruit-inspired blanket such as this one, you should definitely try making your own. Make sure to have a round white cotton tablecloth, green and pink dye prepared according to instructions, clothespins, black fabric paint, paintbrush, and black pom pom trim. It will take you a while to do it, but the results will be so satisfying, especially when placed under the sun and share precious moments with your close ones.
5. Cricut Iron-On Picnic Blanket
via damasklove.com
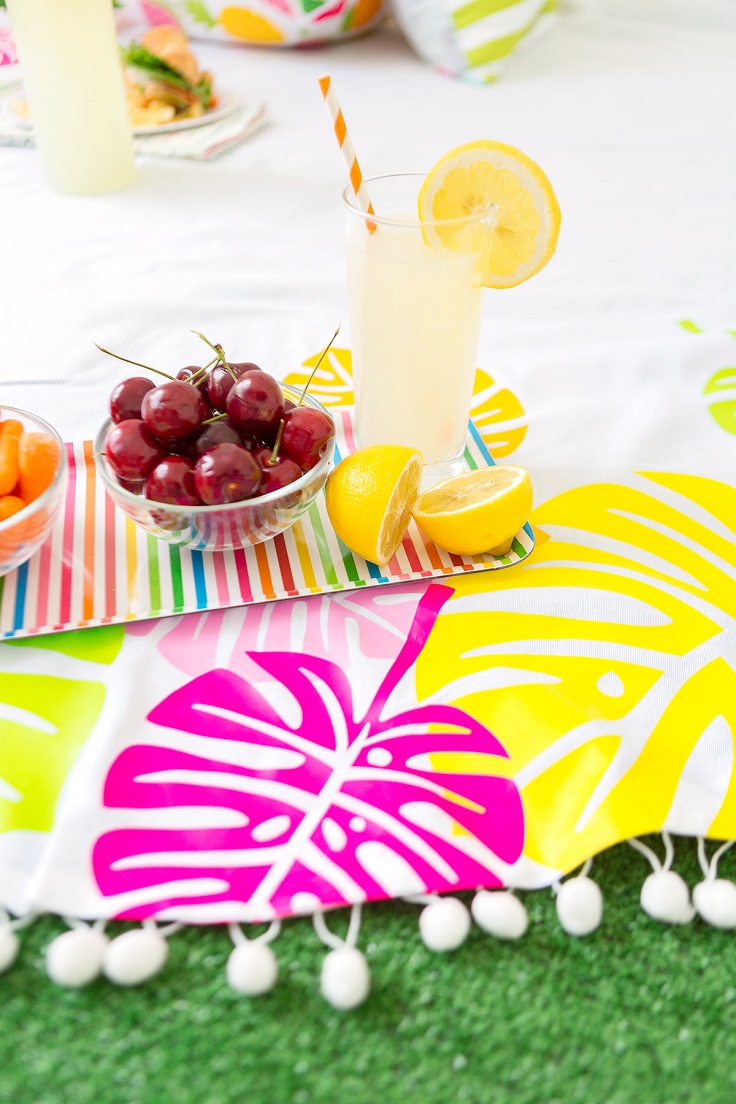
Here’s something a little bit different, but definitely worth the try. You need cricut to explore, cricut design space access subscription, iron-on monstera leaf shapes cut from bright colors of cricut iron-on material, white 70″ round table cloth, pom pom trim, fabric glue, tabletop ironing board, and iron. All you need to do is fold the blanket in half and place the leaves where you want them to be. Carefully iron them and when you’re done with the leaves, use the fabric glue to adhere the pom pom trim along the whole blanket’s edge. Leave it to dry for few hours.
6. Citrus Picnic Blanket
via mrsmeyers.com
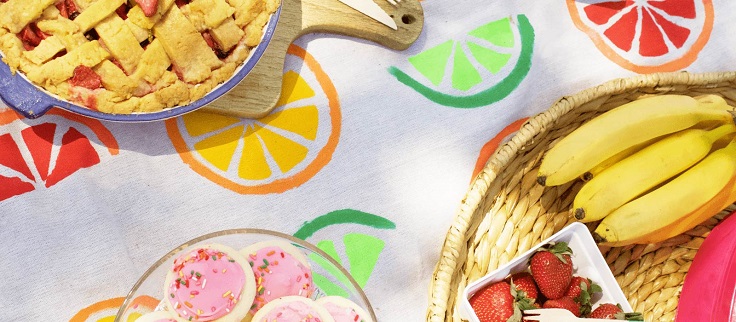
Having a fruit-inspired blanket really reminds us of summer, especially if you choose a fruit you can only buy during this season. drop cloth (used 5 x 5), fabric paint, paintbrushes, stencil, precision knife, rotary mat, and pen. It’s really simple – lay down on your cloth with cardboard underneath it. Create your stencil pattern, first trace it and then cut it using a knife and rotary mat. Prepare the paint and use the stencil pattern to paint all over the blanket. Wait until it’s completely dry to take it outside with you.
7. Picnic Blanket Board Game
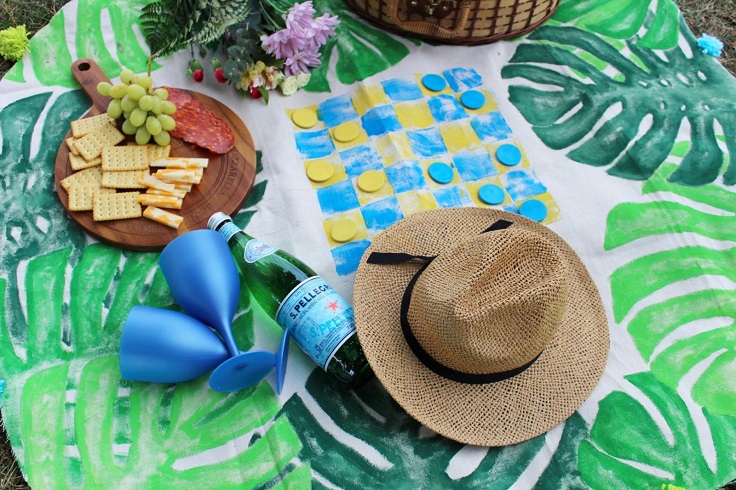
What makes this blanket a little bit more special, unlike the rest of the list, is that this one actually comes with a playing game! It will be so fun playing a game with your friends or family on a blanket, which not only is fun but looks amazing with the tropical green leaves pattern as well. For this one, you need a drop cloth, paint, scotch guard, yarn, wood pieces, a zipper, hot glue, and a pencil. This blanket promises so many good times under the sun and creating memories with the people who mean to you!
8. Tassel Picnic Blanket
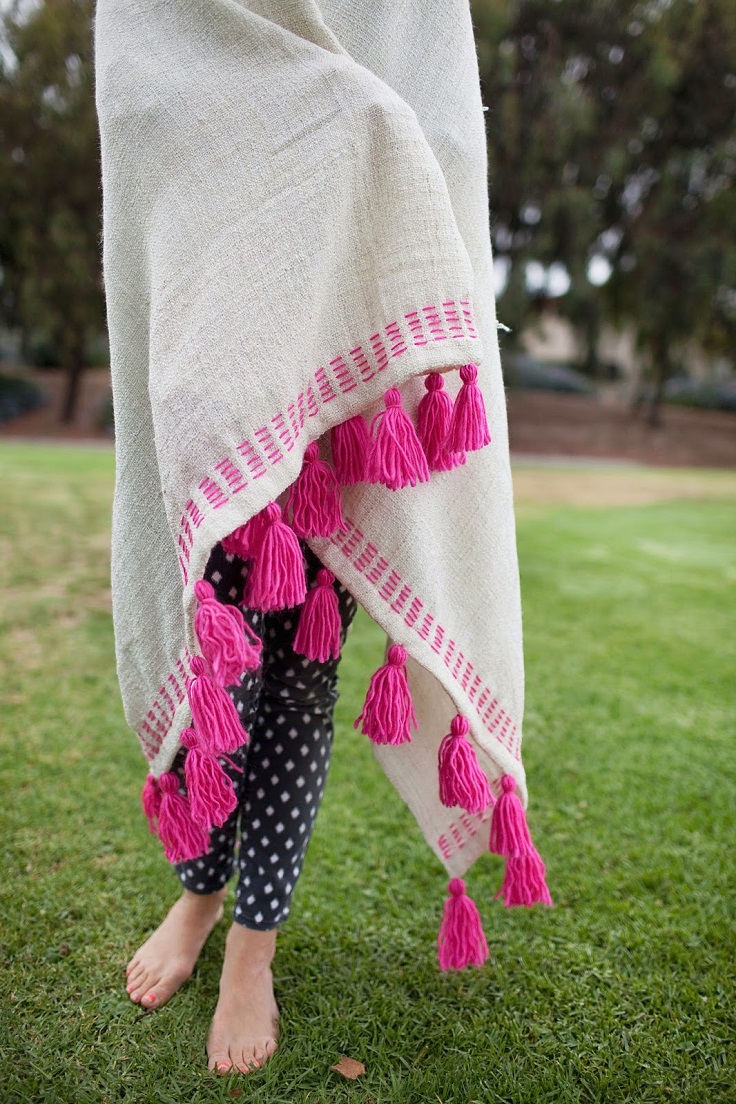
via tellloveandparty.com
There’s something about tassels that makes them more than just a decorative material. They really have some charm that sends out chic vibes! You can a blanket with tassels all along the edge, so why not try it out? Just make sure to have the following materials: plain blanket, yarn, tapestry needle to thread the yarn, regular needle and thread matching the color of the blanket and sewing machine. With a little effort, creating the perfect picnic blanket has never been so great!
9. Gingham Blanket
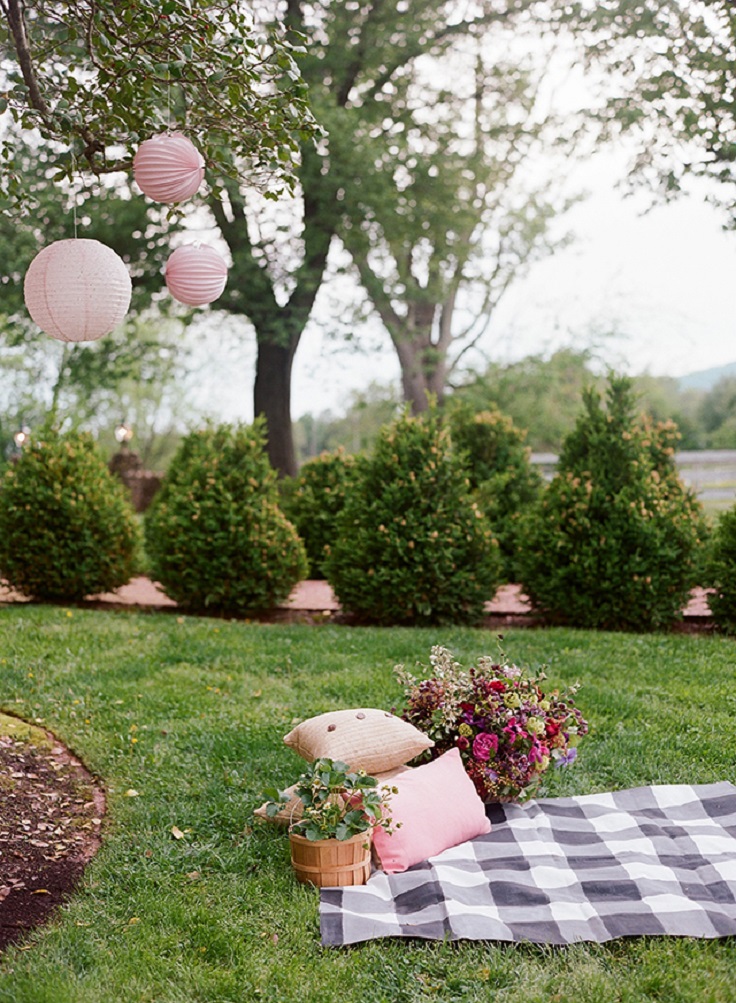
So far, we have talked about nine ways of creating the perfect picnic blanket that will stand out from the rest with how unique it looks. But, having the good old gingham blanket can still be classy. You need a 5×5 canvas drop cloth, pencil, t – square or ruler, black and gray acrylic paint, foam paintbrush, and iron. This is a great way to make your own gingham blanket, only this time you choose the colors and how you’re going to draw the checks. Have fun!
10. Hand – Painted Grid Picnic Blanket
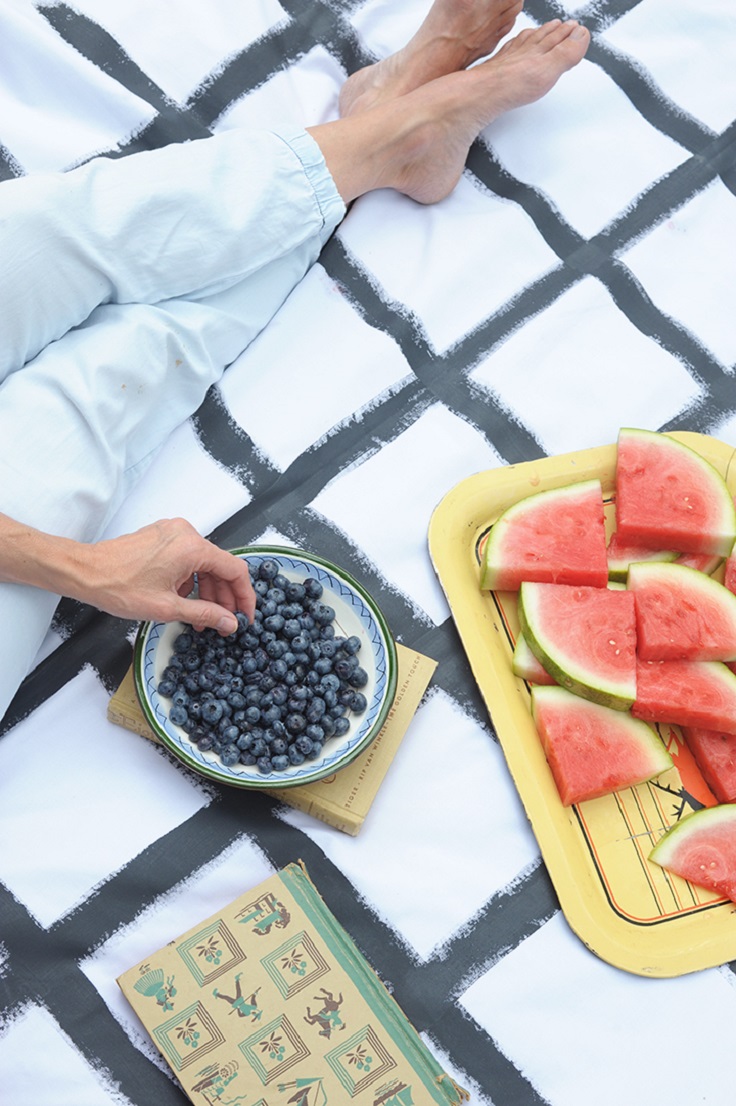
via aliceandlois.com
Here’s another way to paint a picnic blanket. Before you start, these are the materials you need to have: 2 yards 100 percent cotton, black fabric paint, 1-inch paintbrush, ruler, pencil, Iron-on Adhesive tape. It’s really easy to make it. First, place the blanket on a flat surface and measure the grids. Drew lines with a pencil and follow the traces by painting lines when the paint is dry, iron the blanket to set the paint.

