The word “origami” comes from “ori,” which means “folding,” and “kami,” meaning “paper.” This technique originates from Japan, and the most famous origami that we all know is the paper crane. However, there are so many figures that we can make with this amazing technique.
You can make cute, colorful birds and envelopes or even napkin rings. Origami can be a nice home decoration, but you can also consider one of the ideas as a gift as well. If you are into doing stuff on your own, you really need to try one of the origami models presented below. Have fun!
1. Origami Birds
via wimketolsma.nl
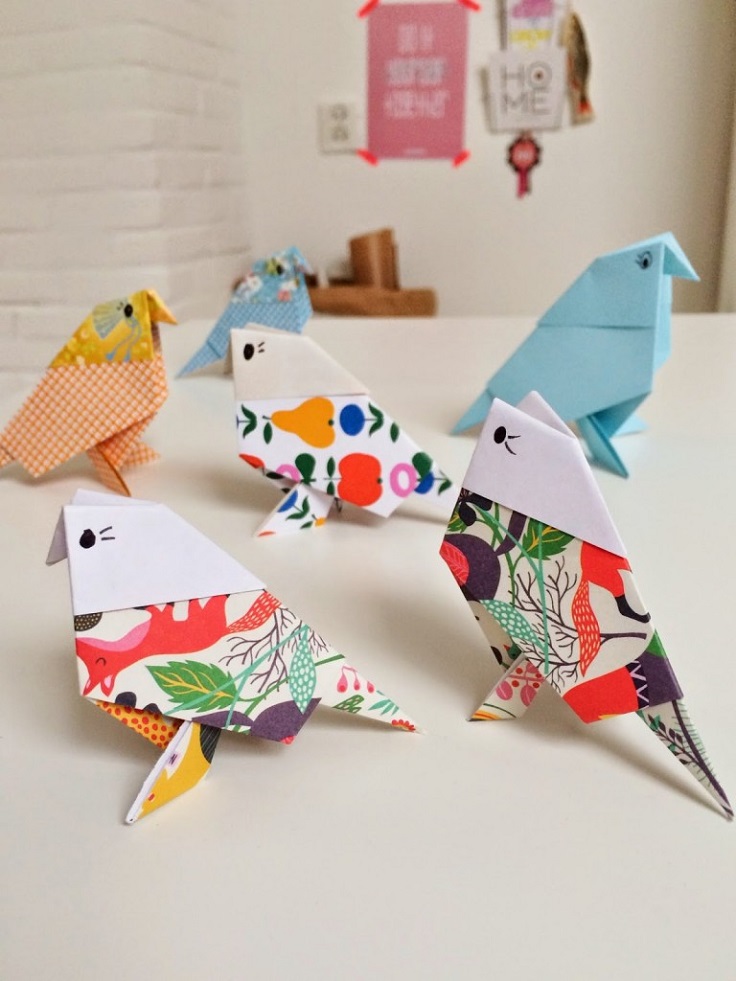
Aren’t these birds one of the cutest decorations a home can have? All you need is just colorful paper and a few minutes of your time for this origami project. The link will lead you to a website where you can find the instructions, and there is a video tutorial as well. The origami birds are a nice decoration idea, especially for a children’s room. They add so much charm no matter where you decide to put them.
2. Origami Diamond Napkin Ring
via bloglovin.com
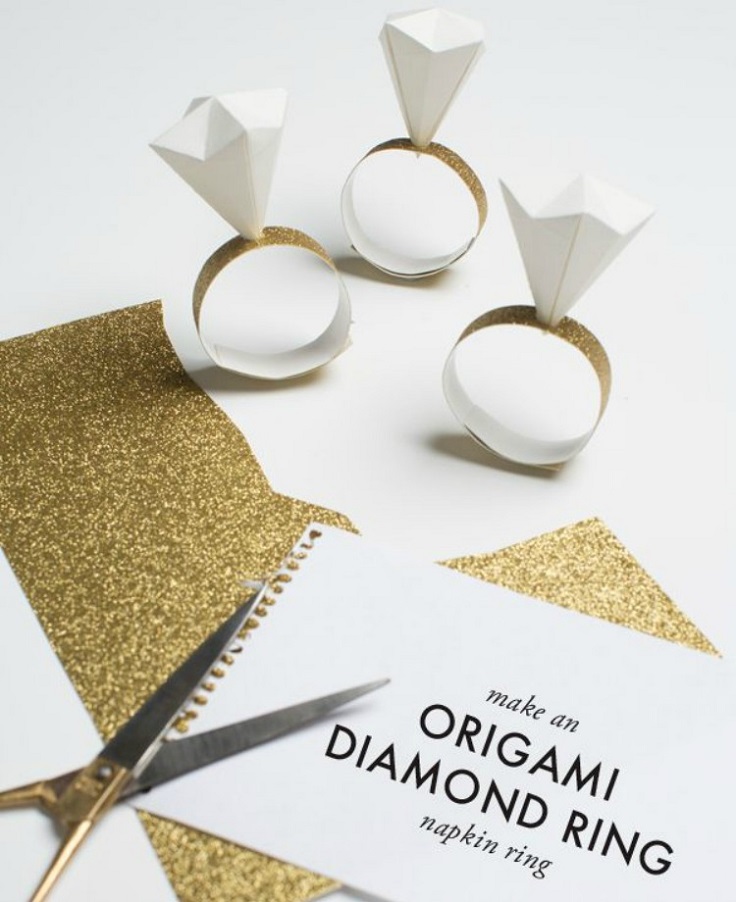
These fancy napkin rings are the perfect decoration for fancy gatherings or even a wedding. To make them, you need gold glittery paper, glue, scissors, and white paper. For the diamond origami ring, make a square by folding diagonally, crease and cut off the remaining paper, and do the same with the other diagonal. Bring the top down from the top right point to reach the midpoint on the left side and then crease. The next step is creating the diamond’s shape and making the center of it pop out and stay that way. When the points are made, glue everything and start making the golden band.
3. Origami Envelopes
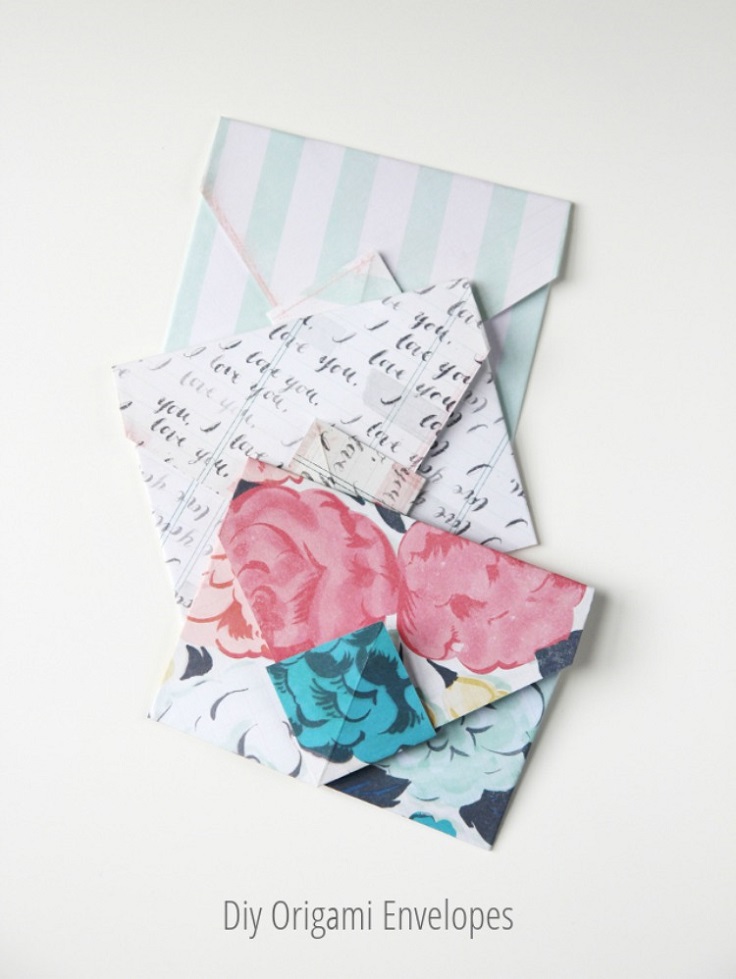
Only two materials are needed to make this amazing envelope: a ruler and scrapbook paper. Fold the paper to make a triangle and fold down the top layer with the bottom edge. Use the ruler and measure one-third of the way in and fold the left corner to the edge of the right-hand side. Make the corner of the triangle touch the edge of the left-hand side and then unfold it to form a diamond-shaped pocket. The last step is to take the top of your triangle and fold it down. Don’t forget to put a note inside!
4. Origami Bipyramid Necklace
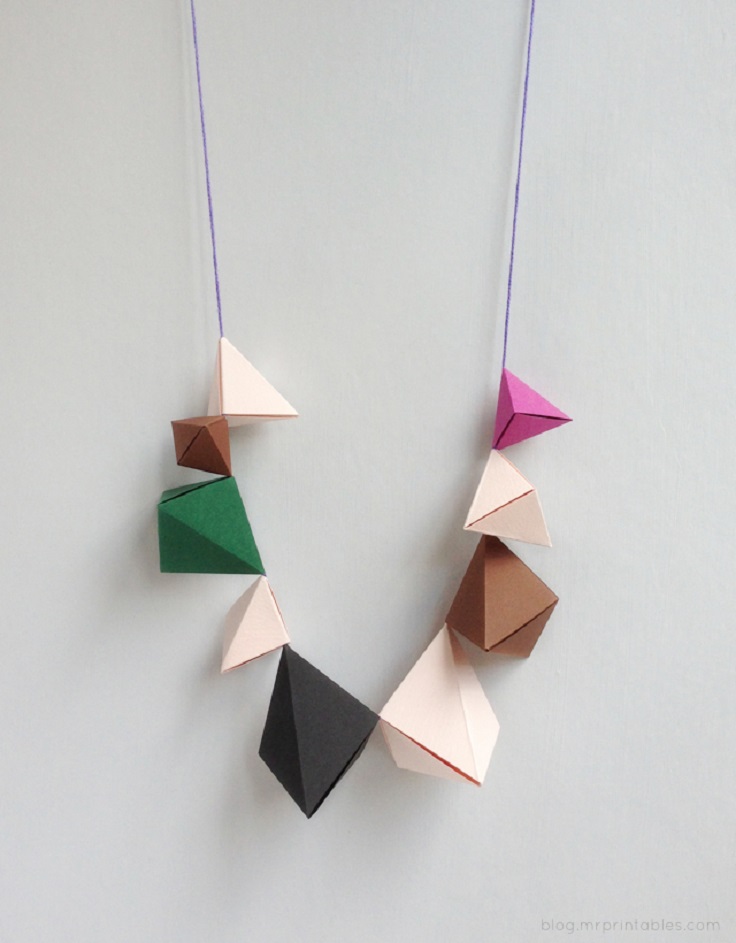
You can even make jewelry out of origami techniques. You should cut a strip of paper with an even width and fold a small triangle on one end. Fold backward and repeat fold like an accordion. The next step is changing the fold direction by folding the straight lines between the diagonals. Roll the shape along, and you will get the triangular bipyramid. The last step is forming a solid shape by wrapping around the faces and inserting the final triangle part into a slit to close it up. Place a string through, and you have your origami necklace.
5. Origami Dresses
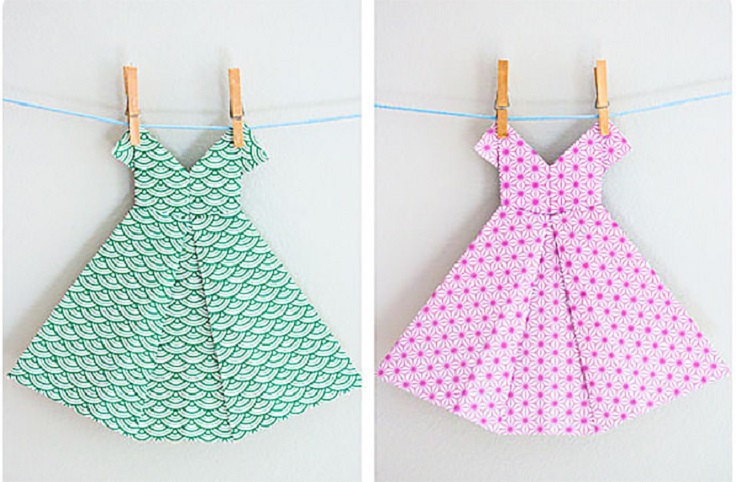
These origami dresses can be used for something else besides being a decoration. You can even glue them to card stock and make greeting cards, which is an amazing idea, especially when it comes to birthdays or Mother’s day. You need any paper, as long as it is not too heavyweight. Visit the website for more detailed instructions.
6. Heart Page Marker
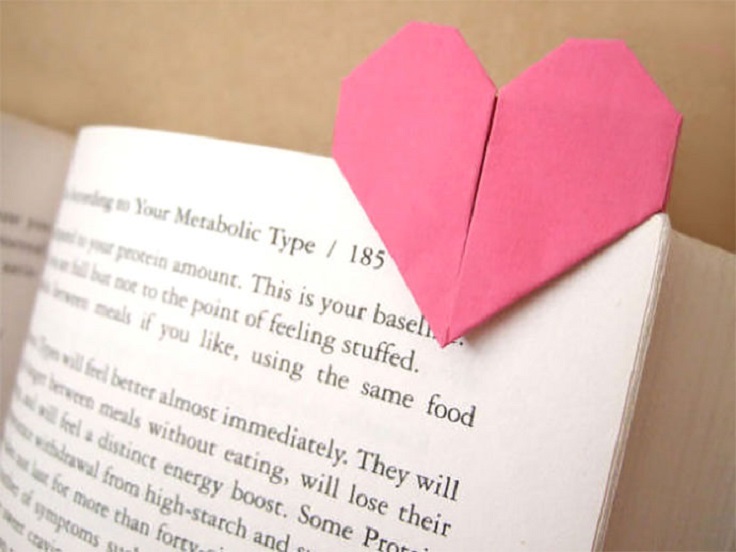
via bloomize.com
Book lovers will find this very useful and pretty! Reading is more fun when you have a lovely bookmark to show you what was the last page you have read. This small pink heart is easy to make; you just have to follow the instructions on making them carefully. You can even choose colorful paper; it doesn’t have to be one colored. Also, you can make a clover or a flower if you join few hearts together.
7. Origami Baskets
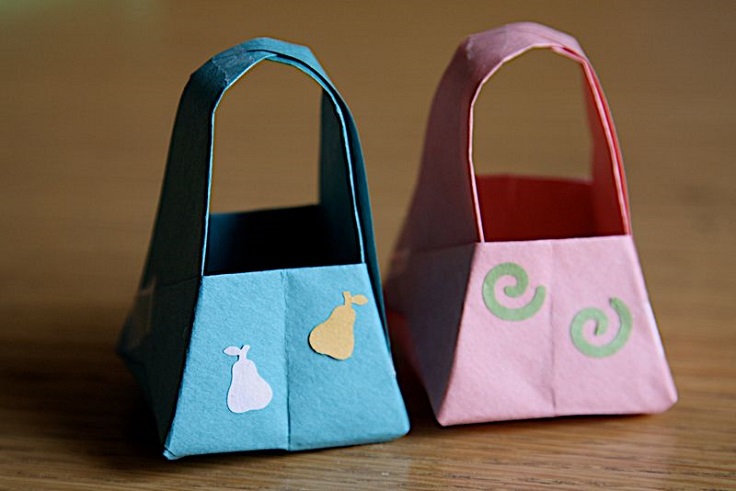
via origamimommy.org
Children will love these little baskets because they can carry around stuff in them, like toys or pebbles. So, make more of these for that purpose, but you can also use them as decoration and put some flowers inside. The origami baskets leave us with few options, and we love all of them. Use colorful, one colored or contrasting paper, craft punch, and then you can draw stuff on them if you want to.
8. Origami Lampshade
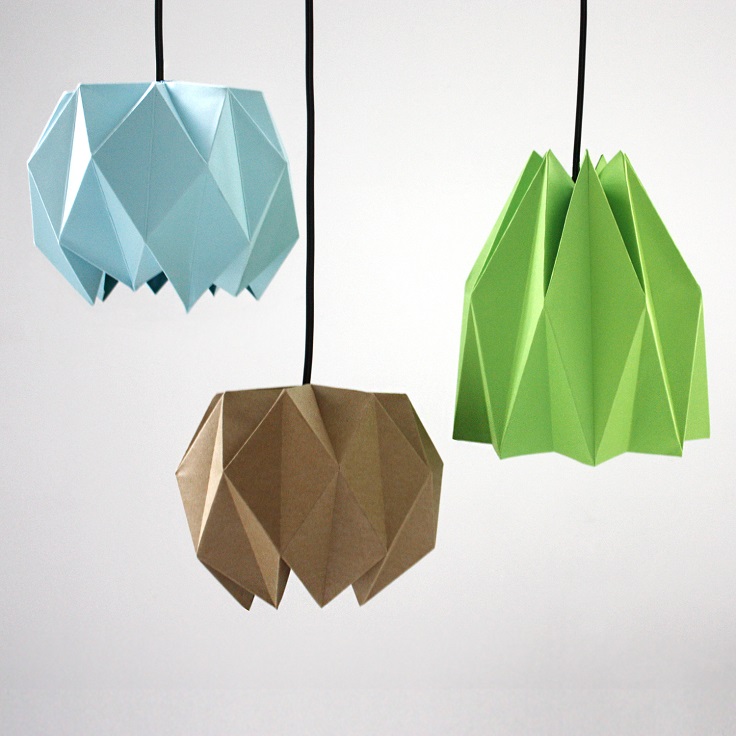
There are two versions of the origami lampshades and for both is best to use A3 or larger paper. If you have A4, that’s fine too – just tape two of them together. No matter which version you choose, it will take you about 20 minutes to make it. The first step, fold the paper in three different directions and start with the black and then the red and blue lines. This way, the paper will naturally fold into place. The second version also has similar steps. Your bedroom or living room will surely look more artistic with these two!
9. Origami Candle Holder Flowers
via alivingspace.com
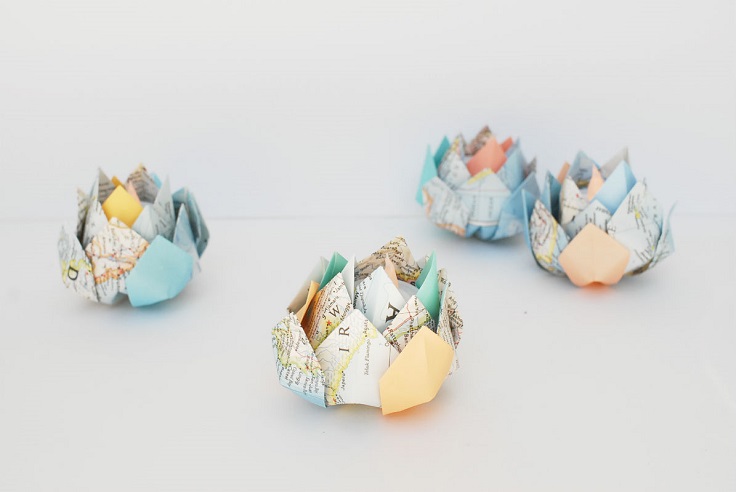
For each origami candle holder, you need eight sheets of paper, one twisty tie, or a piece of wire, and an LED candle, while for the cutting, you can use a straightedge and an X – acto knife. When it comes to the paper, maps are a really interesting choice! They add a certain charm to the whole origami project. If maps aren’t your thing, you can always choose something more simple, one colored. This may not be the easiest project on the list; it depends on your DIY skills and patience! That doesn’t mean you should skip this one; in fact, you’ve got to give it a try!
10. Origami Bunny Basket
via aspoonfulofsugardesigns.com
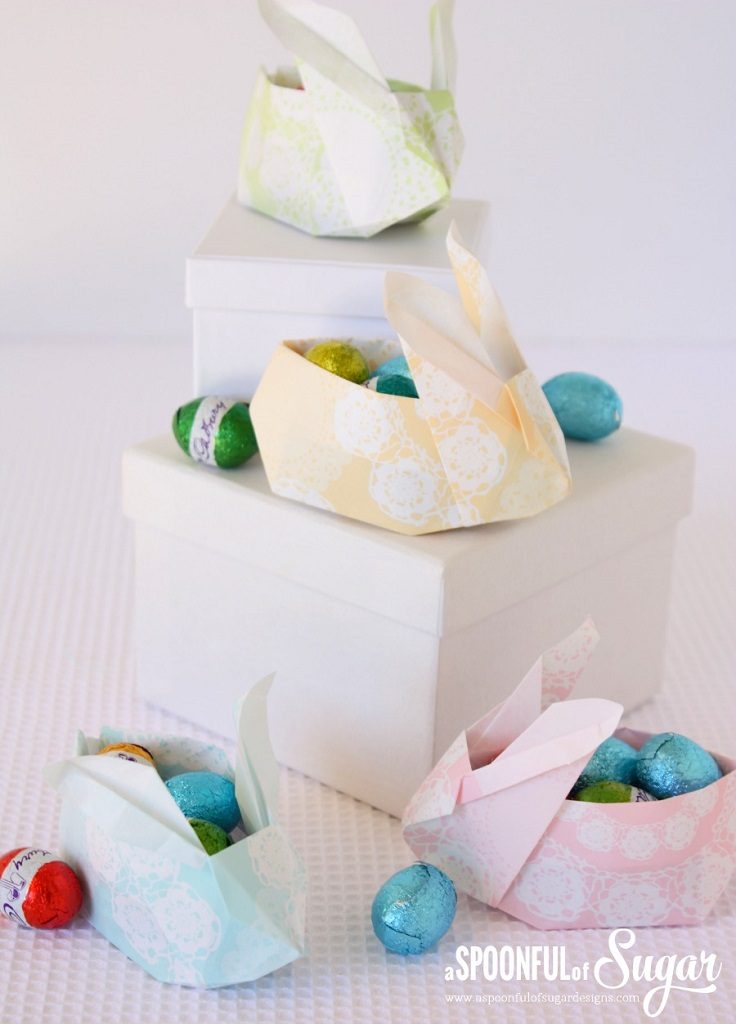
Even though Easter isn’t around still, you can remember this idea for then, or you can make these bunnies now and instead of Easter eggs, place chocolates or flowers in them. Making the origami bunnies might take some time, but the result is totally worth it. They are wonderful decorations because of their cute shape, their pastel colors, and because hey, how often do you see origami bunnies? So, get the needed materials and have a fun origami adventure!



Thease are so nice
maybe some day
Thx for sharing