Are you planning a party and want something very creative, and yet that it won’t take much of your time? We have the solution for you – party hats! It may sound boring or too usual, but actually making your own party hats can be fun and very creative.
There are materials, colors, and patterns to play with. You will only need few tools, an hour or maybe two, and a little bit of your imagination to get you going. Once you start, you’ll have so much fun with this DIY project you will want to make more and more of these adorable party hats.
See the list below and choose the one that fits your needs the most. No matter if it’s a birthday or any other celebration, the hats will be the perfect decoration for your party.
1. Fabric Party Hats
via minted.com
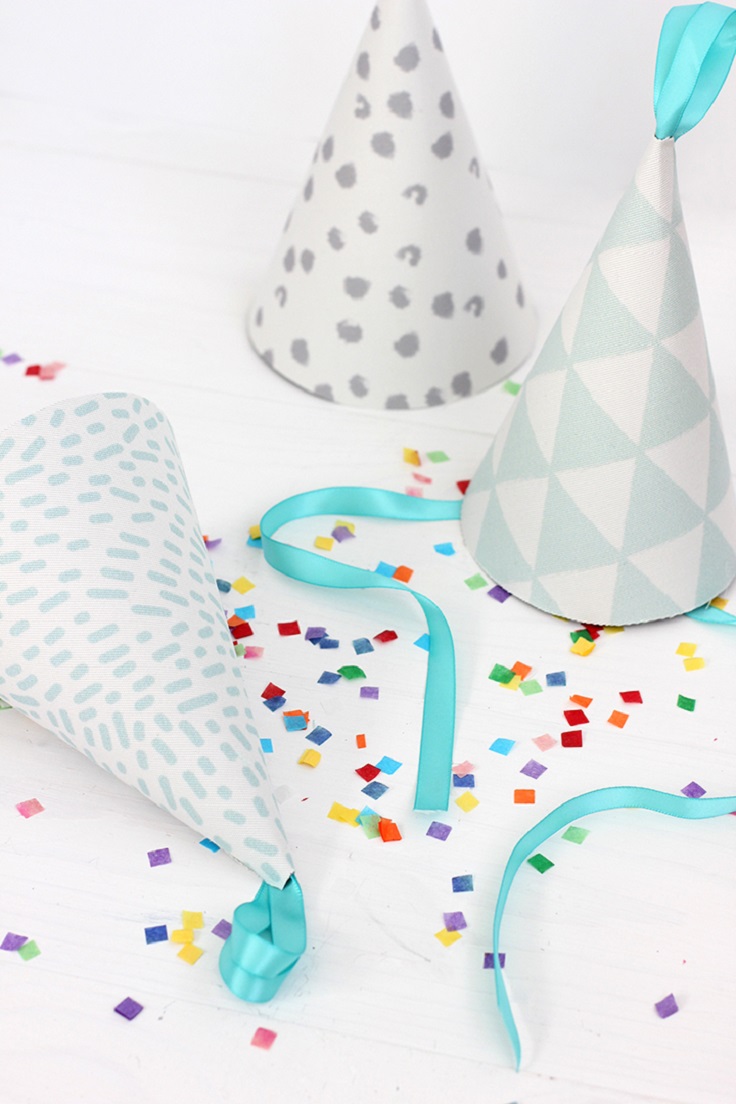
For this DIY hat, you need the following supplies: fabric scraps sized at 11.5″ x 7″, spray adhesive, scissors, card stock, and hot glue. Start by unfolding a party hat, trace its shape on the card stock and cut it out. Use the template to trace the party hat on the card stock again, place it down and spray the adhesive onto the paper. Iron your fabric before all this, and then place it on the already sprayed paper. Smooth out and trim the excess fabric. Cut an 8″ length of ribbon, make bunny ears or fold into two loops and glue them to the top of the hat.
2. Party Hats with Paper Flowers

For this amazing floral hat, make sure you have colored tissue paper, all-purpose glue, colored A3 cards, ruler, scissor, pencil, food bag ties, and a headband. It’s really easy to make these hats. There are 20 steps, but don’t freak out – it’s as easy as pie! No matter if you’re a beginner or already have DIY advanced skills, you will find it very easy. You can experiment with the colors as well. If you want a more colorful hat, then buy tissue paper and A3 cards in many different colors. Who wouldn’t love such a floral hat?
3. Watercolor Party Hats
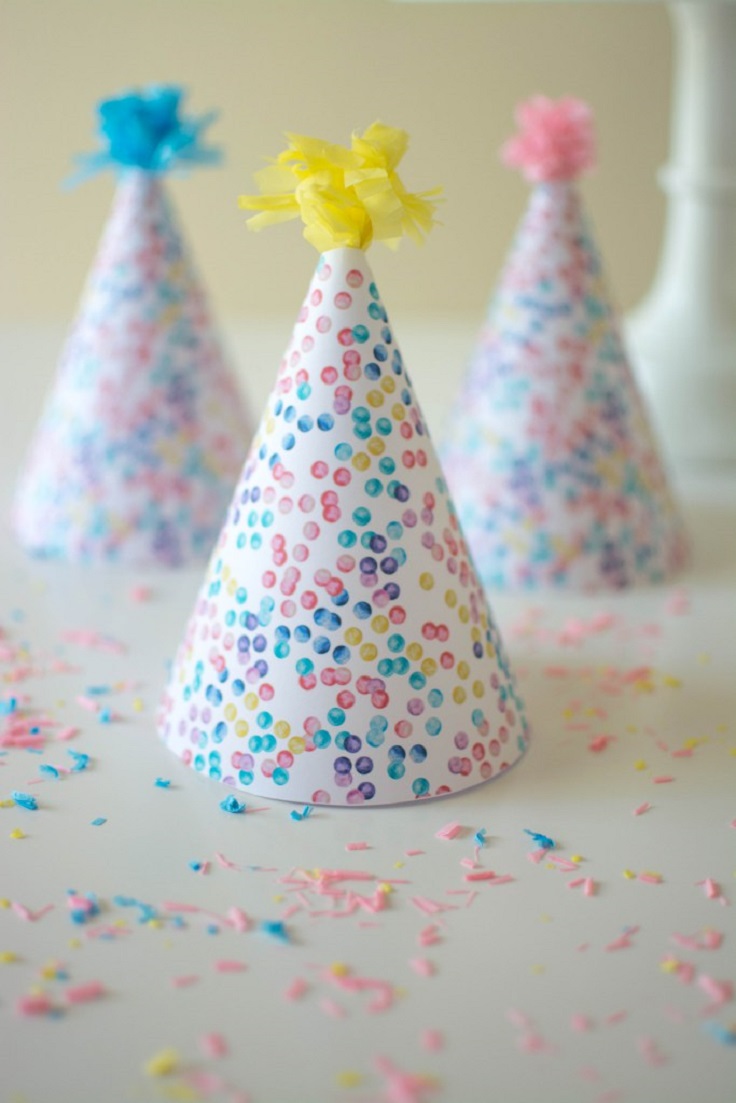
via twinkletwinklelittleparty.com
Don’t worry – you won’t have to use actual watercolors for this. You have a free watercolor confetti party hat template. If you want the template, just click on the link below the picture. Besides that, you need hot glue, scissors, elastic, hole punch, tissue fringe, pom poms, or ribbon. Start by printing the template or making your own and cut the borders. Fold the dotted lines and glue the seam together. Punch holes on each side of the hat and thread an 18″ piece of elastic through the holes and tie a knot. It’s now time for embellishment! Use either the pom poms, the ribbon, or the tissue fringe.
4. Fruit Inspired Hats
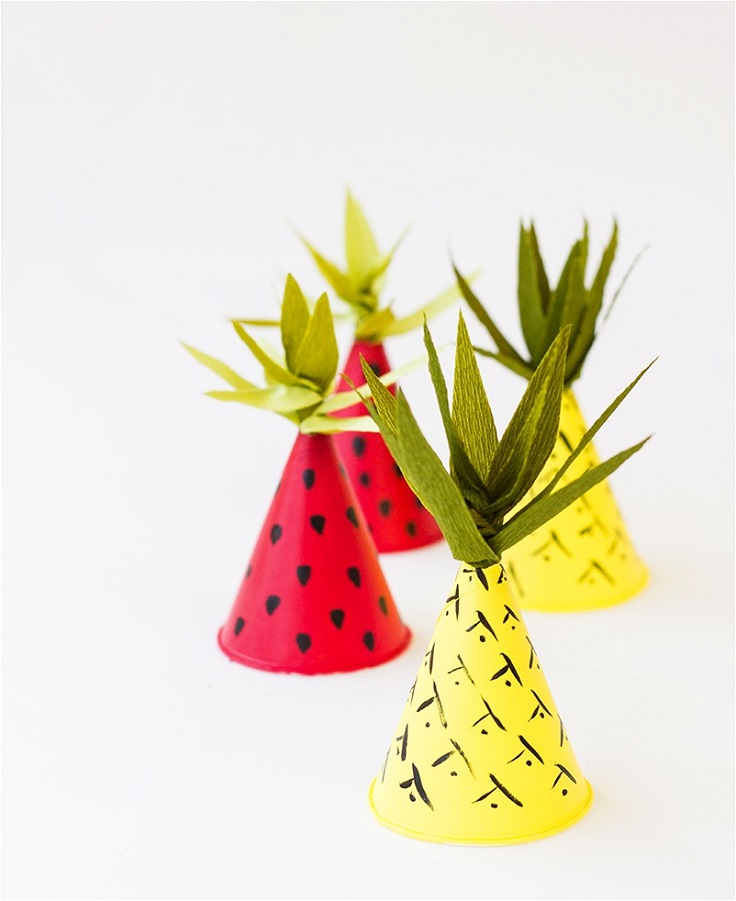
via studiodiy.com
These fruit-inspired hats are perfect for summer parties or even picnics. You need paper cone cups, craft pain, green or regular crepe paper, scissors, tape, elastic or ribbon, and awl, which is optional. Snip off the top of the cones and color them with craft paint. Use a tiny brush to make the cone look like fruit and when you’re done with painting, leave the cups to dry. In the meantime, you can make the fruit leaves and add them to the top of the hats. To add ribbon or elastic for wearing the hats, you can use an awl to make small holes, slip it through and tie it to secure.
5. Pom Pom Party Hats
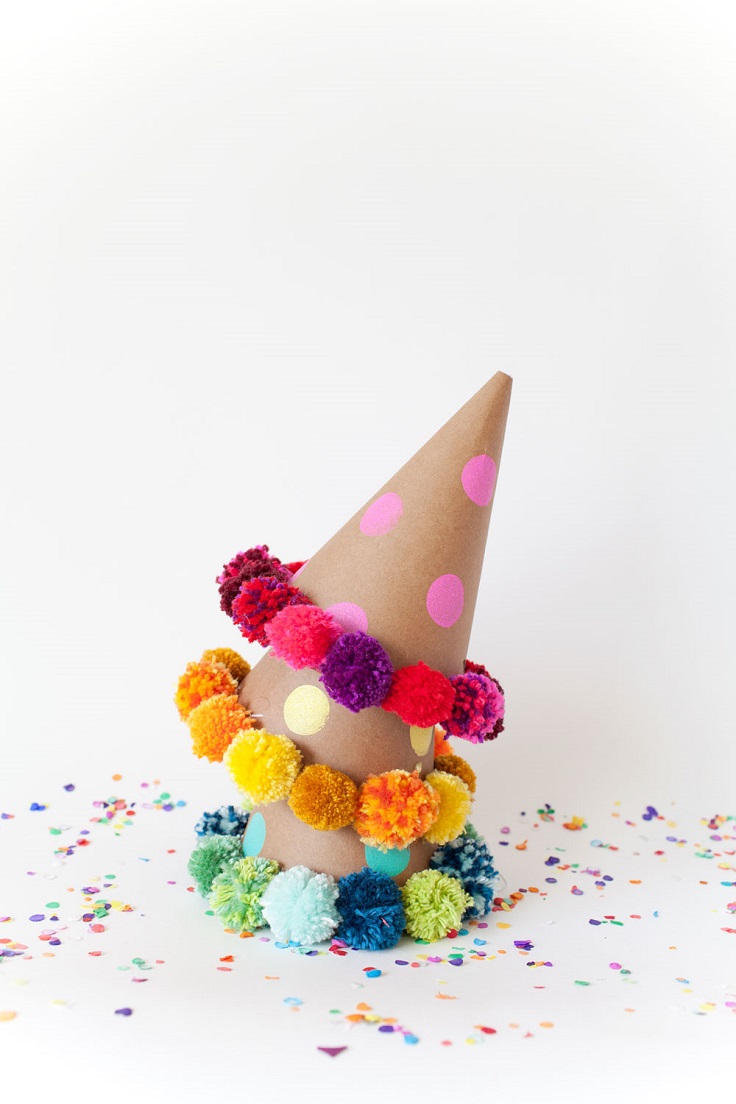
If there’s one thing that comes up to our mind when we see pom-poms, then it’s definitely a party. They’re the perfect decoration. You’ll need the following supplies: plain party hats, foam pouncers, acrylic paint, yarn, pom pom maker, and glue gun with the foam pouncer stamp polka dots on the party hats. The next step is making your own pom poms, but since they’re really time-consuming, you might want to consider using a store-bought. Glue them at the bottom of each party hat, and you’re ready to party!
6. Mini Party Hats
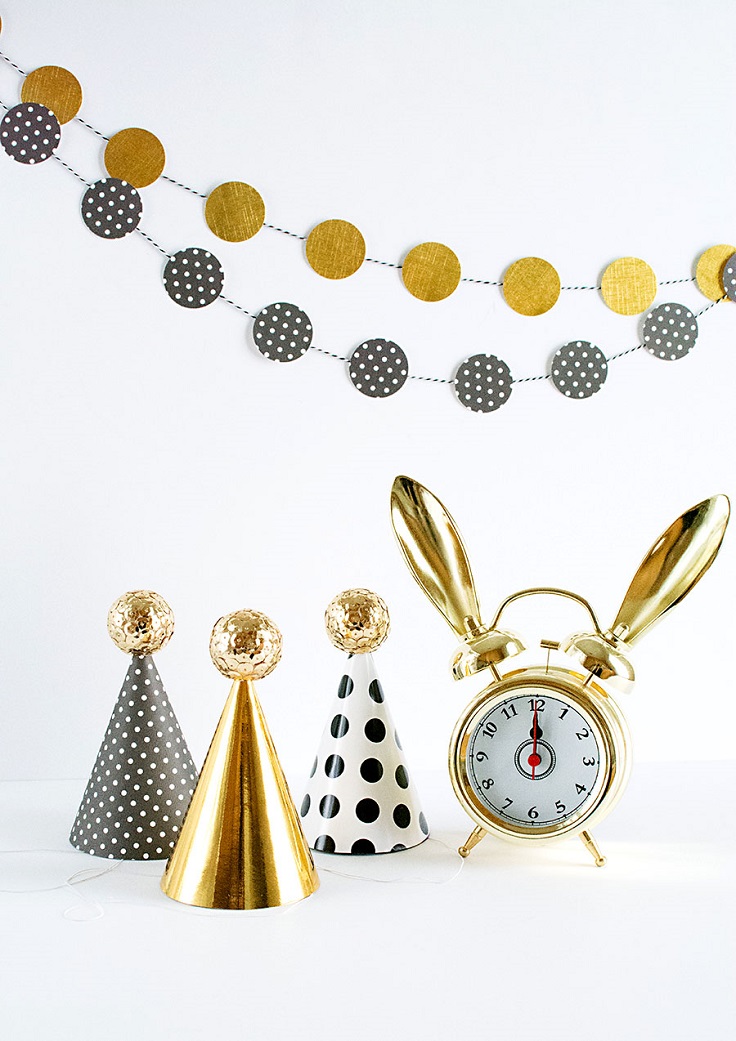
Now, how about some classy and elegant party hats? These may not be perfect for a children’s party, but they sure will be great for any other celebration! For these glittery hats, you need scissors, styrofoam balls, sequins, Tacky glue, tape, glue gun, and of course, party hats. Use the Tacky Glue and glue sequins of styrofoam and leave out a small piece. Repeat with the glue until you have all covered with sequins. If you want mini hats, cut off two inches of the hat and fold it together, but if you want the regular size, feel free to skip this step. Push the foam ball onto the top of the hat in the place where you previously left out applying sequins, but don’t forget to glue it there!
7. Party Hat DIY
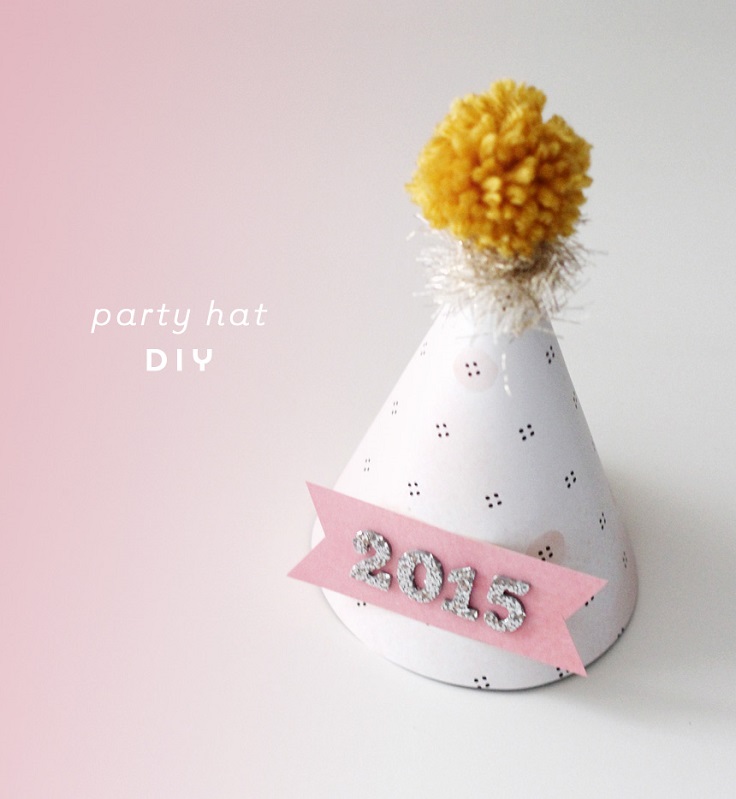
This one is one of the easiest DIY hats over. You can download a free template again and use it for your party hat decoration. Make a pom-pom or use a store-bought, and glue it on top of the hat. The next few steps are all about decorating, and it leaves you with plenty of choices. For example, in this tutorial, you have glittery 2015 glued on pink card stock. You can spell something else and also glue it on a card stock. Or, you can add glitter, sequins, more pom poms... It’s all up to you!
8. Fresh, Fruity and Irresistibly Sweet Watermelon DIY Party Hats
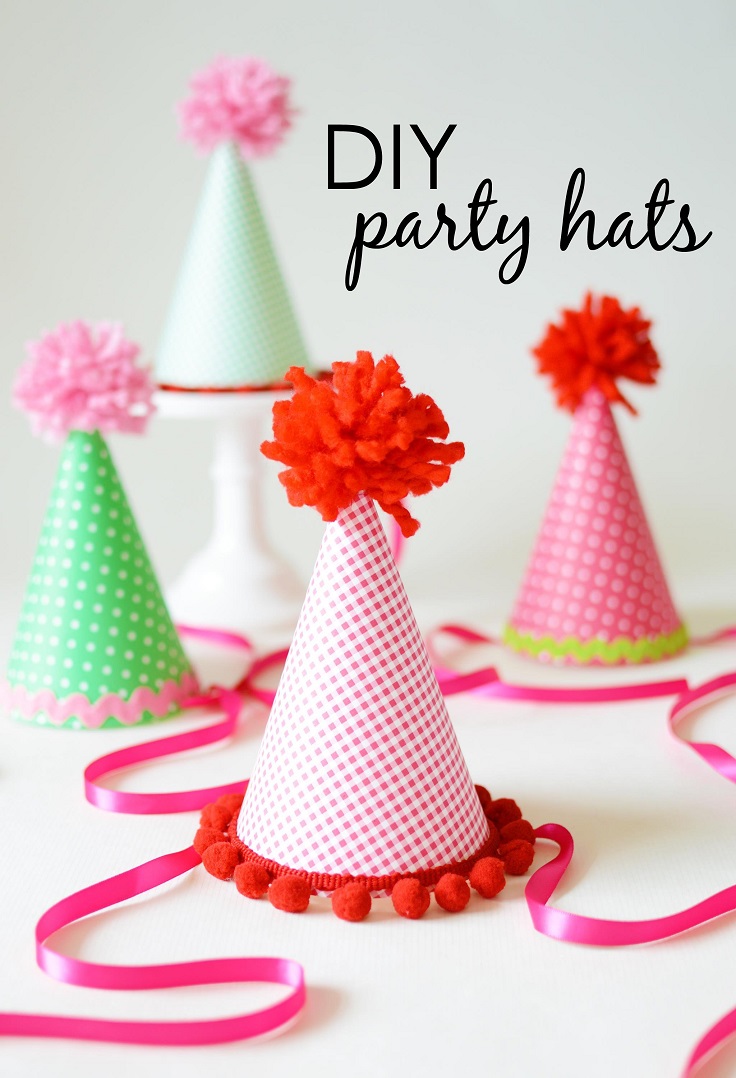
If something screams “party” then that’s definitely these party hats! You need party hats, hot glue gun, scissors, chunky yarn, 3/4″ satin ribbon, ric rac garland and pom pom garland. Glue each party hat with printable template or use pain and make your own! Wrap the hat in cone shapes and glue them. Next step – cut two 20″ pieces of satin ribbon, glue them on opposite sides of the interior of the hat and around the exterior base hot glue the ric rac or the pom pom garland. The last step is attaching the pop pom on top.
9. Chalkboard Party Hats
via theglitterinmytea.com
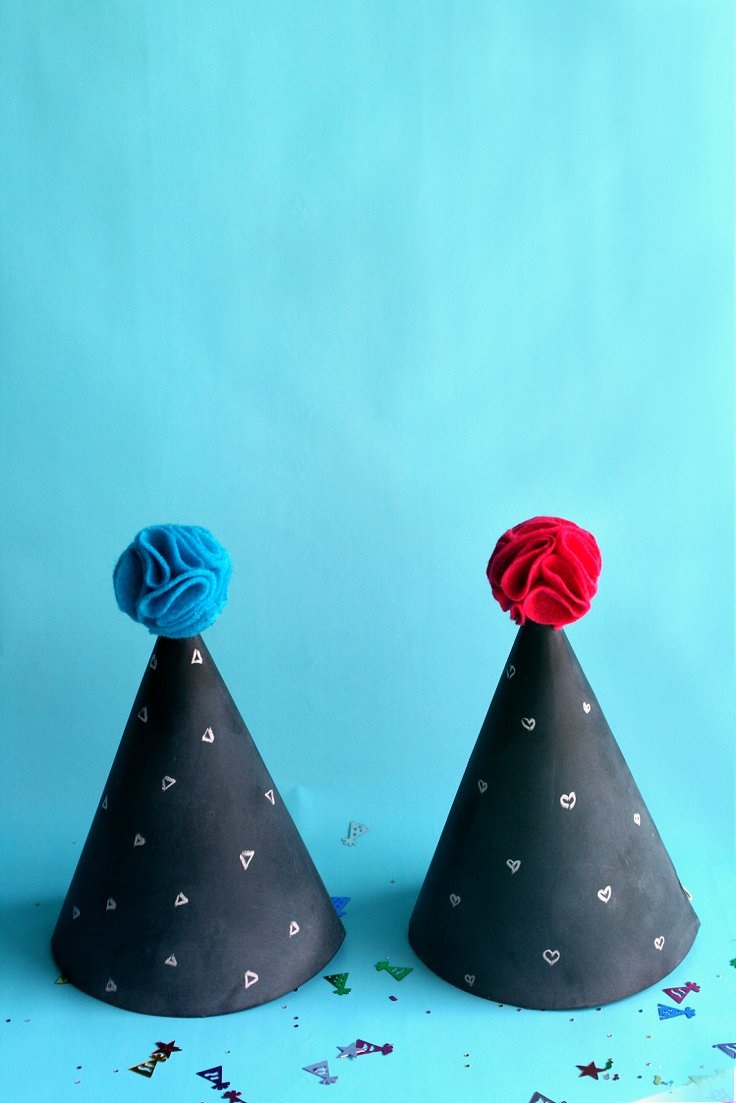
Not the type of party hat you would usually see, but hey, creativity is always welcomed, right? So, for this party project you need party hats, chalkboard spray paint and chalk. The following are optional, so you don’t have to purchase them if you don’t want to: pom poms, felt, hot glue gun, scissors, sharpie and something round for tracing. Unfold the hat and spray it with 2 – 3 coats, let them dry individually one by one and then treat the surface with chalk. Fold the hat and if necessary, use a piece of tape to secure the elastics.
10. Donut Party Hat
via chelseylifeanddesign.blogspot.com
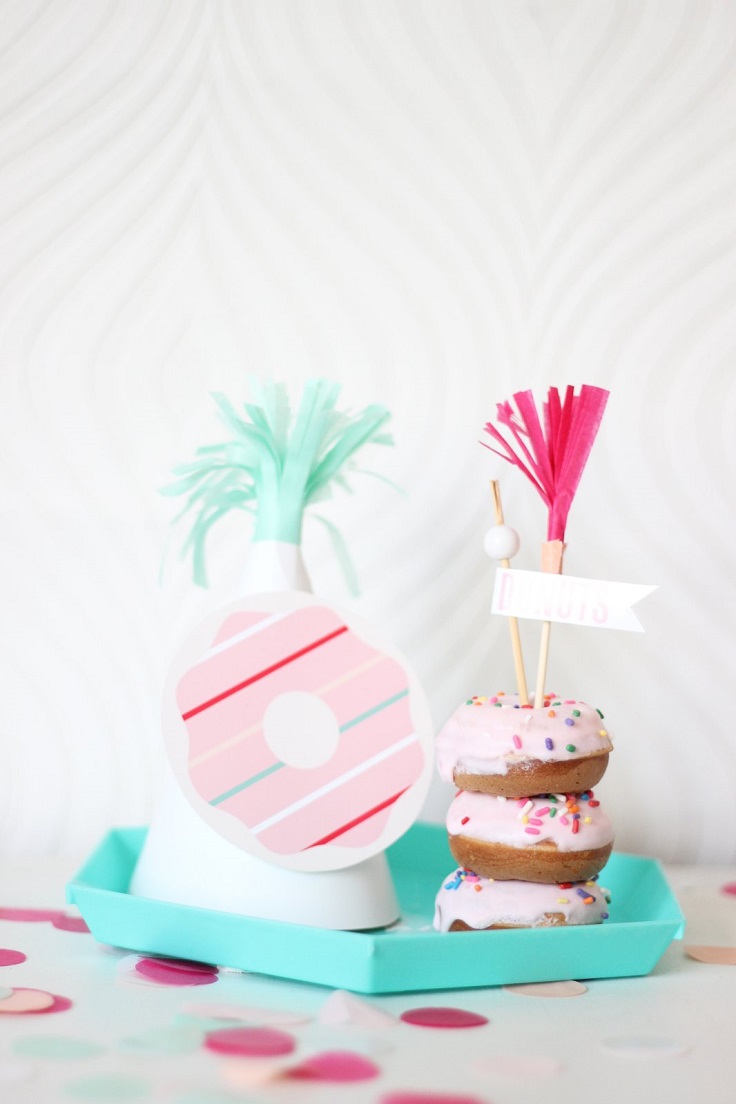
And some donuts for the end! Who wouldn’t love a donut party hat? Making these hats it’s as easy as all the previous hats were, and you need the same materials. Make a tissue paper fringe to put it on top of the hat and print out a donut template, or you can make your own. Use glue to attach it on the hat and you can also use piece of glue to attach the elastics. It’s simple, creative and looks very adorable!

