Tote bags can be more than just plain bags. We don’t need to spend tens of dollars on something to get away with the cheaper option. But, unlike many cases, when we say cheaper here, we also mean very, very pretty! All tote bags presented below don’t even look like a DIY project.
They look more like store-bought, which is a plus for you! Check them out and choose your favorite. There is something for everyone’s taste – from simple sayings to rhinestone bags and embroidered cats!
1. Jeweled Tote Bag
via damasklove.com
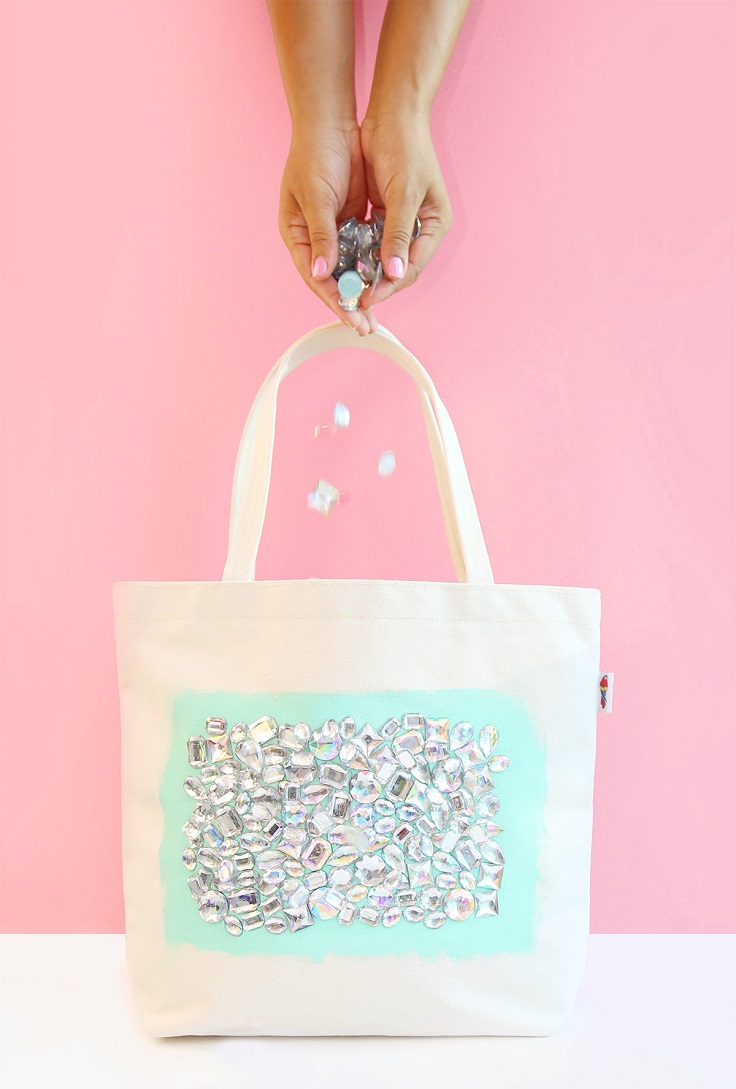
To get this jeweled tote bag, you need a canvas tote, acrylic paint, glue, paintbrush, big rhinestones, and fabric medium. Mix the fabric medium with the acrylic paint and apply some on the front of the tote. The next step is applying dots of glue and on that spot, place the rhinestones. Wait until it’s dry, and voila – you made yourself such a pretty tote bag; who would think that this is actually homemade when it looks so good?
2. Tasty Tote Bag
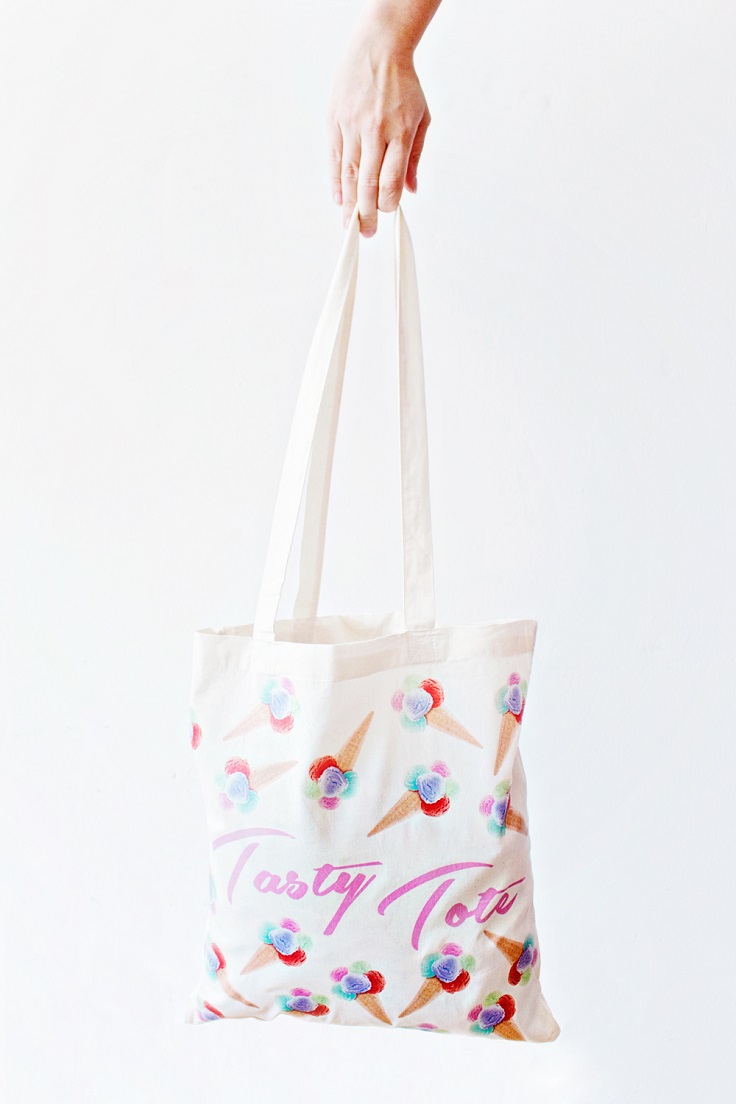
You love ice cream so much that you even want it on a tote bag? Here’s how you can make it – first, make sure you have a plain tote bag, transfer paper for light fabrics, scissors, iron, baking paper, ice cream, and Tasty tote bag text templates that you can download for free (just click on the link). First, print the templates on the transfer paper and cut out the design. Arrange the shapes on the bag however you like, place a baking sheet on top and iron them over according to the transfer paper package instructions. Wait for the shapes to cool off and peel the top layer off; just do it carefully to not destroy the image.
3. Embroidered Cat Tote Bag

Cute, isn’t it? Besides a plain tote bag, you need a pencil, black embroidery floss, an embroidery needle, and scissors. It’s really important to know to backstitch for this project. But, even if you don’t know or feel like you’re not good at it, you can try and see how this cute tote cat will turn out for you. You can find the instructions on the link. If you want to protects the threads from the inside, get fusible interfacing and cut it to the size you need—iron it to have the threads safe from getting caught.
4. Buckle Tote Bag

For these tote bags, you need sewing supplies, 4 buckles, 5/8 inch, handless tote, rotary leather punch, and 2 lightweight cowhide leather strips, each 5/8 inch wide, cut to the desired length. Sew two buckles to the front and back top edges of the bag. Stitch around each buckle several times to secure the attachment. Punch holes in leather strips; make sure there are 2 inches from the ends. The slide ends through the buckles and fastens to secure.
5. Custom Pins Tote Bag
via gs-jj.com
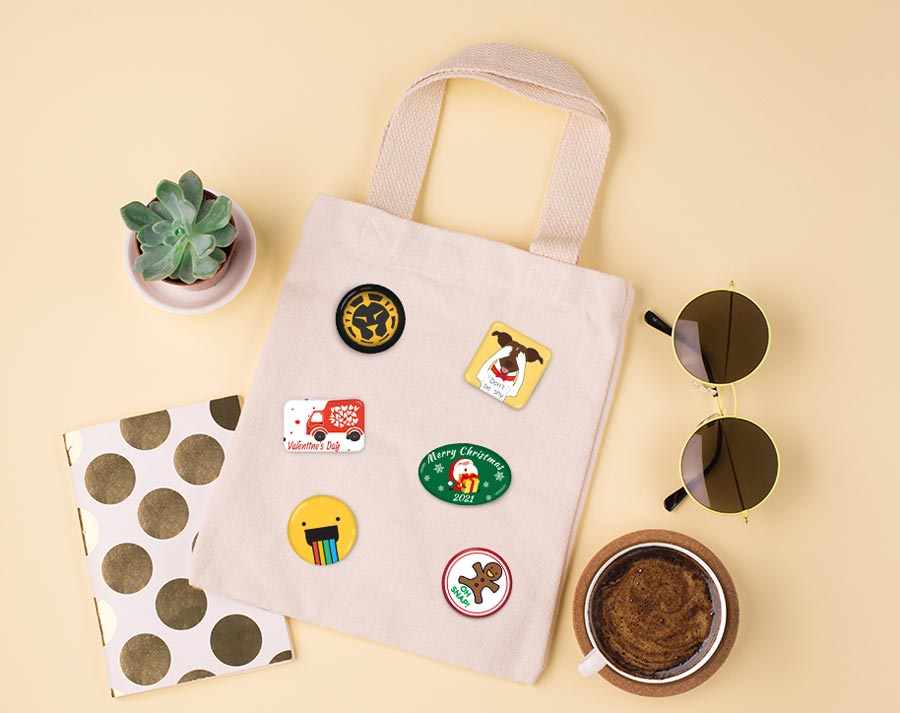
Custom pins tote bags can not only be plain bags to hold something but also good ways for expressing personalities and promoting awareness, influences, or business. Attach the custom pins on the tote bags and make them as souvenirs of activities, ceremonies, festivals, etc. You can also put names, dates, brand logos, or motivational texts on the custom pins for different occasions.
6. Iron – on Tote Bag

via aliceandlois.com
A simple tote bag with a good quote is always the real deal. It is real proof that sometimes simplicity is all we need. Besides a plain tote bag, for this project, you need iron-on transfer sheets, ribbon, sewing machine, and if you want the text from the picture, you can download the template for free (click on the link below the picture). Cut the ribbon to fit the length of handles and add half an inch to each side. Sew the ribbon onto the handles, print and cut the saying printable on the iron-on transfer paper. Iron the saying on the bag, let it cool, and then you can peel off the paper away.
7. Bonjour Market Tote Bag

A little French text won’t hurt! Especially if it’s bonjour. It’s really easy to make this on your own. First, decide which phrase you want on your bag, create it on photoshop or word and print it. You will need a stencil to slip inside the tote and tape in that place. Trace around the letters with painters and fill in. When you are done with the design, iron it so that you can wash the bag in the future. Voila!
8. Fruit Pom Poms Tote Bags
via commonthread.us
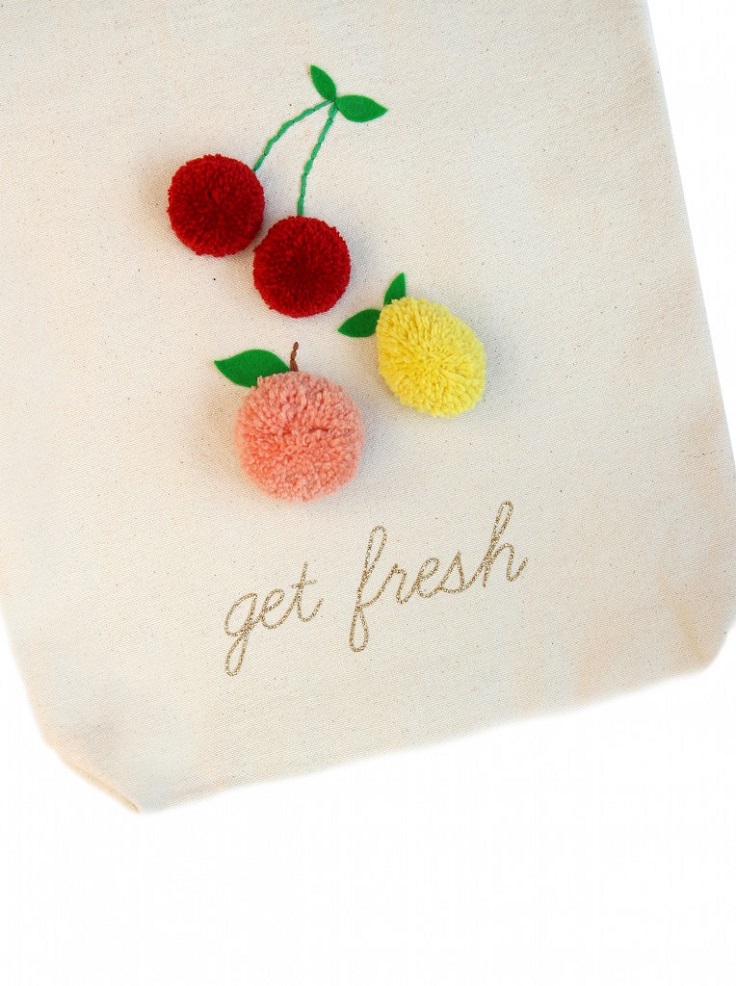
To make this pom pom tote bag, you need wool yarn in red, peach, orange, a pom pom maker, craft glue, canvas tote bag, green embroidery floss, and transfer pen and green felt. You can make the pom poms yourself, or you can use store-bought. Arrange them on the bag and use a transfer pen to draw the stems. Stitch along with needle and embroidery floss, and after that, you can wash the bag to remove the pen lines. Dry the bag and then glue each pom pom and stick them on the bag.
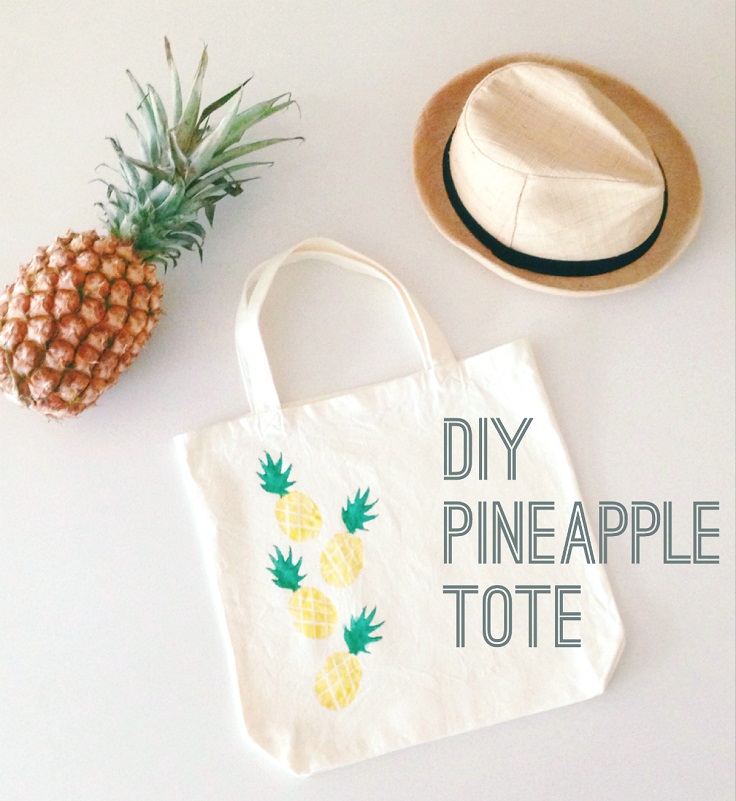
9. Potato – Stamped Pineapple Tote
via hotforhouses.com
A little tropical feeling is always welcomed, and in this project, it’s the pineapple with that power. Prepare the potatoes for stamping. You may have difficulties making the pineapple shape, but if that doesn’t work out the first time, take another potato! Dip the potato stamps in yellow and green and stamp the bag, but first, put a piece of cardboard inside to avoid transferring the paint on the other side of the bag. Let it dry for few hours before you use it.
10. Sunglasses Tote Bag
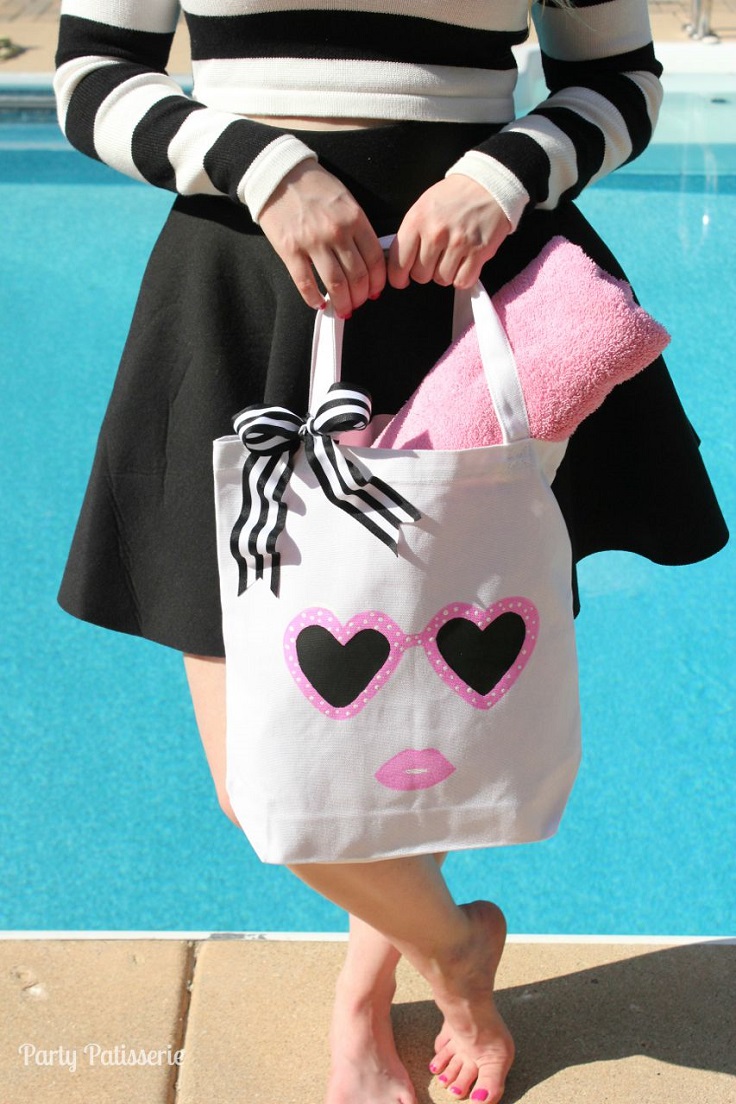
Print a heart shape, trace it on the bag to form the sunglasses, and do the same for the lips. With pink craft, paint the frame, and after it’s dried well, make white dots, wait for them to dry, and then fill the sunglasses with black paint. Paint the lips as well, and you’re basically done; if you want to make it prettier, you can attach a ribbon. The result is amazing – a cute, flirty tote bag to wear with you at the beach or the marker, or everywhere!

