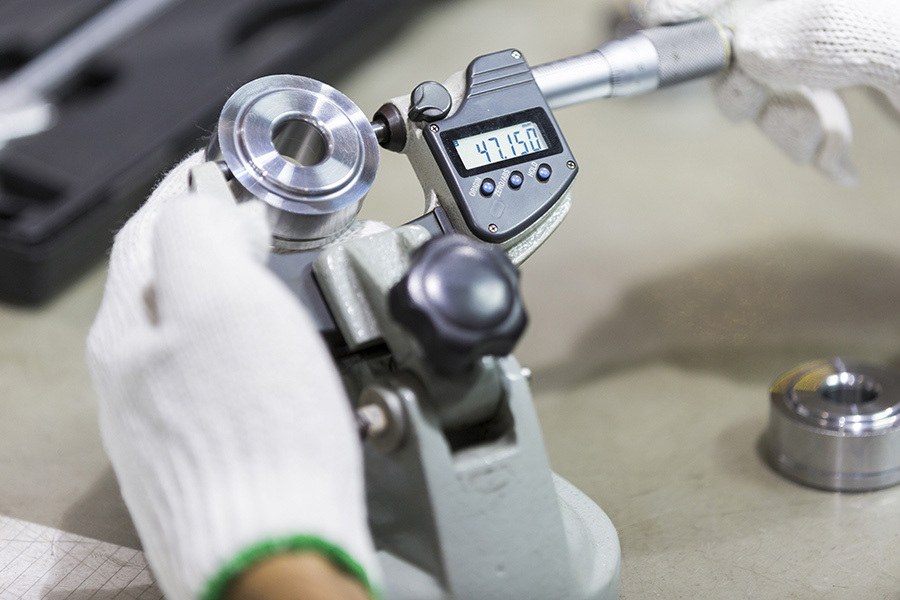
By the third quarter of 2021, there were 810,000 self-employed workers in construction. You can expect to see a micrometer in the majority of their toolkits. This highly accurate tool is also known as a micrometer screw gauge and is fairly important to the success of many trade jobs.
The word micrometer is traced back to neoclassical Greece and translates to ‘small measurement’ and that is exactly what it is used for. These tools allow workers to make extremely fine measurements that can be displayed in imperial or metric formats.

Most commonly used by the more technical trades such as mechanical engineers and machinists, this tool is a handy piece of kit to support their work. There is a range of micrometers to choose from with a measuring range varying between 25mm and 1 inch. Click here for examples.
Read on to find out more about this fascinating piece of kit.
What are the different components of a micrometer?
- Frame – The C-shaped frame allows for optimum positioning of other features of the tool. These frames can take multiple shapes and sizes to allow for the desired use of the micrometer.
- Anvil – This part ensure the spindle gravitates towards the object. Without careful use, it may chip.
- Sleeve or barrel – This round section of the tool features a linear scale. This allows for measurements to be taken in degrees of 0.0001.
- Locking nut – This part ensures the spindle is kept in place for small lot gauging.
- Spindle – Located next to the measuring faces. This part projects towards the anvil.
- Thimble – Another part for taking measurements. You’ll find graduated markings on here that are straightforward to read.
- Ratchet – Found at the end of the handle and restricts pressure.
How to use a micrometer
Understanding how to use a micrometer is easy once you know what you’re doing. Here’s a basic guide to successful usage of this device:
1. Familiarise yourself with the tool
Take time to understand the different parts of the tool using the guide above. This will help with your terminology and following the next steps.
2. Clean it
Using a cloth, begin by cleaning the micrometer. Be gentle with your cleaning process so as not to damage the tool. Whilst cleaning is not mandatory, we highly advise you to do it for more accuracy when measuring.
3. Hold the object against the anvil
Using your left hand, hold the object you’re measuring against the stationary anvil. Ensure the object does not move or scratch the surface of the anvil.
4. Hold the micrometer
Using your right hand, hold the micrometer in the palm of your hand. If you’d like both hands for the measuring process then you can also put the micrometer into a vice too.
5. Spin the ratchet
Turn the ratchet counter-clockwise and make sure the 0 on the thimble lines up with the scale on the sleeve.
6. Twist the thimble
Turn until you hear three clicks. This should be enough pressure to keep the object in place.
7. Set the lock
Whilst the object is still in the micrometer, set the lock.
8. Slide-out the object
Be careful not to scratch the edges as this could affect the accuracy.
9. Write your results
Before unlocking the spindle, write down your measurements. If the spindle comes loose, restart the process.
As with any job, before any work commences, you must inspect your tools in line with government guidelines and ensure they are fit for purpose.


